Notice
You are now leaving Polygon Restoration's website and will be directed to another country in the group.
Do you want to proceed?
Notice
You are now leaving Polygon Restoration's website and will be directed to another country in the group.
Do you want to proceed?

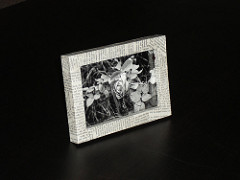
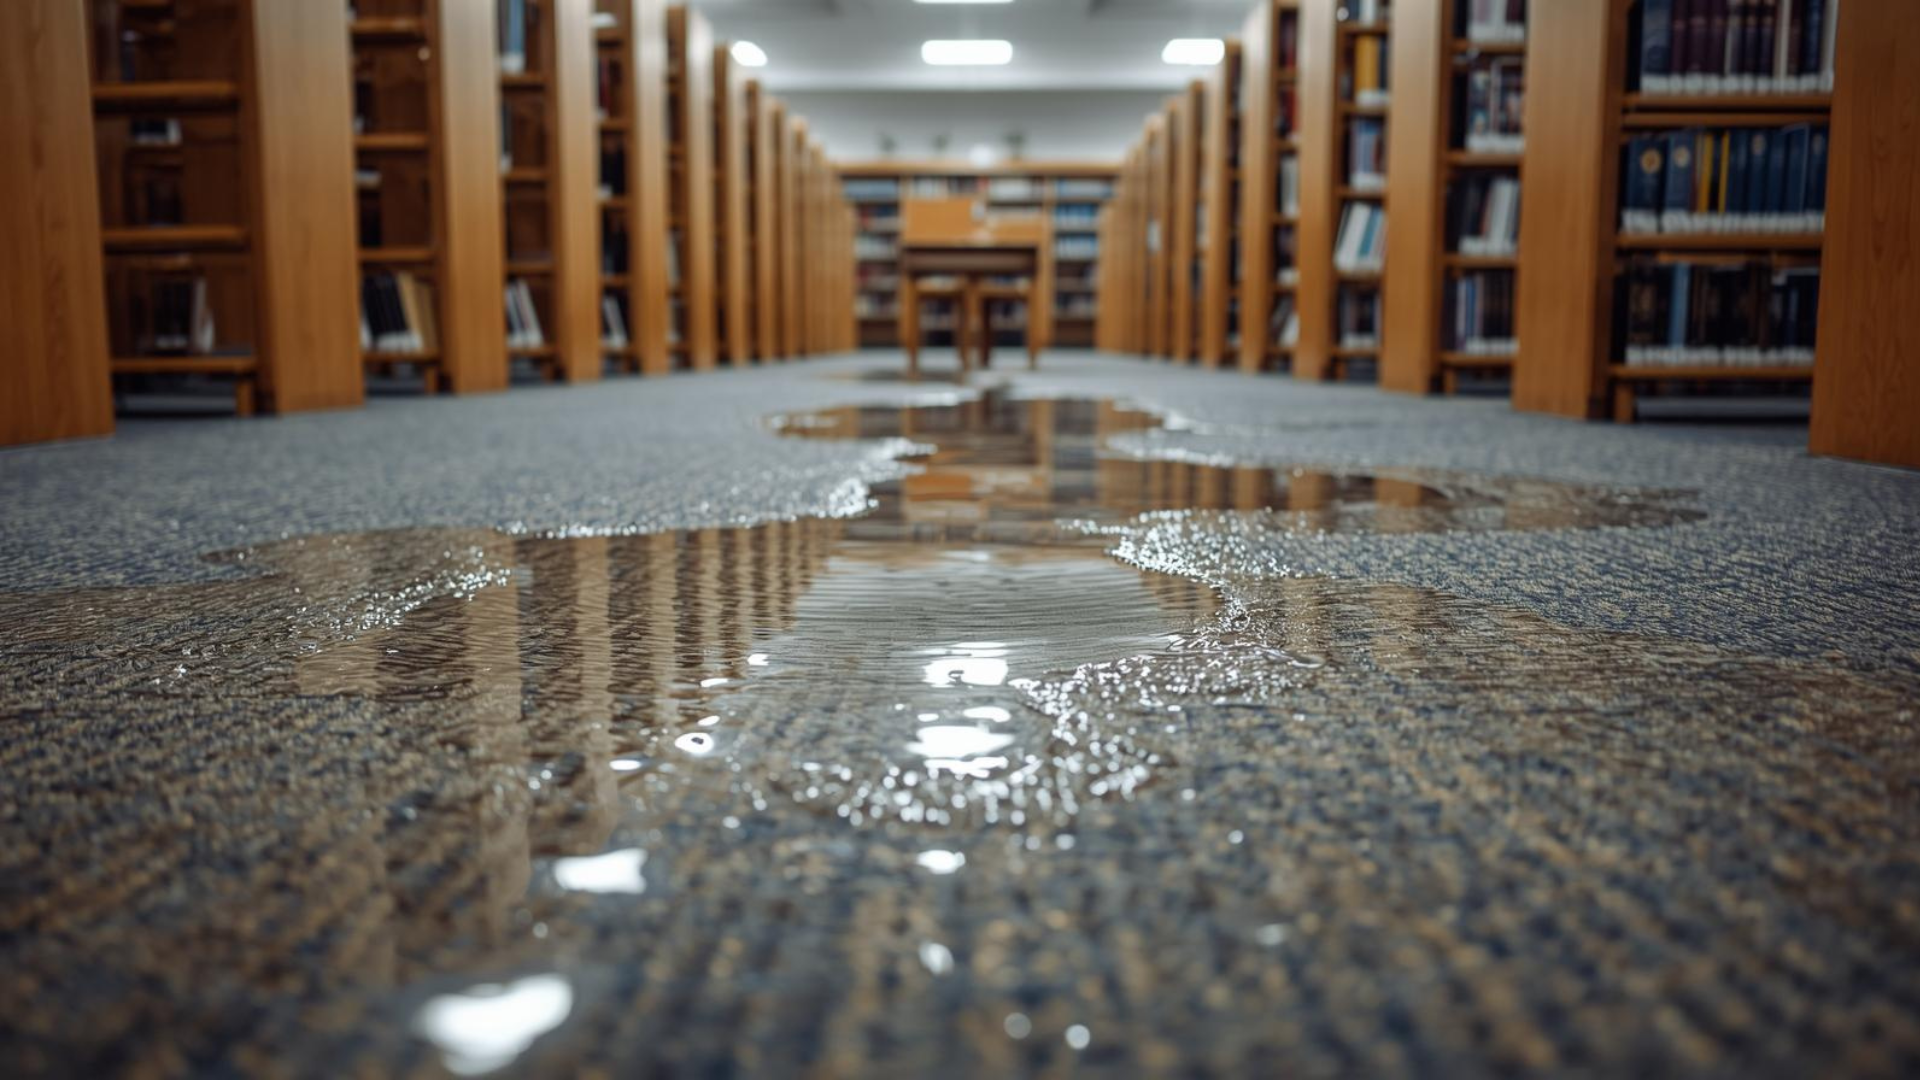
Looking at a row of framed family portraits or framed certificates hung on the wall, it’s easy to assume those precious items are safe from damage. Certainly, framing documents and photographs protects them to some degree from fading, dust, and other forms of damage. However, even archival-quality framing can’t protect prized documents from water damage. If a flood, broken pipe, or excessive humidity has damaged your documents or photographs, read on for our primer on how to dry wet documents and pictures that are framed.
Once the items are removed from their frames, continue the air-drying process, as we have described in previous posts on how to dry wet documents.
If several photographs are stuck together, you may be able to loosen them by soaking them in warm water for about an hour. You can use a plastic bag for the soaking process – just be sure to switch out the water frequently if it becomes dirty.
Place wax paper between photographs so they don’t stick together as they dry.
You can decrease the chance of future damage to photographs and other heirlooms by storing them in dry, cool places. Humid, hot areas, such as the kitchen, basement, and bathroom, are not ideal display areas for documents and pictures you hope to preserve for the long term. For irreplaceable photographs, it is smart to scan the originals and display duplicates so the originals aren’t damaged by sunlight and other display variables.
If photographs have already sustained mold damage, contact a professional restoration expert who knows how to dry and clean damaged photographs. In days past, water-damaged photographs that had been attacked by mold were lost causes. Fortunately, today’s document restoration specialists have advanced technology that can restore even mold-damaged photographs.

Emergency Support
1-800-422-6379Send an email
us_info@polygongroup.com24/7 Hotline
Urgent equipment and operational support
Property damage
Documents and contents damage
24/7 Emergency:
United States: 1-800-422-6379
Canada: 1-888-702-4782
Your questions and comments are important to us. Please send us your information with a description of your needs and we will connect with you promptly.
Polygon US Headquarters
15 Sharpners Pond Road, Building F North Andover, MA 01845
Phone: 1-800-422-6379
See all our US locations here: Polygon US office locations
For global support, please contact one of our offices listed here: Our Global offices - Polygon Group